Wednesday, July 13, 2011

Little Toot: Great for Kids and More!

With airplanes, trucks and trains in bright primary colors, the Kaisercraft Little Toot collection is perfect for kids, especially little boys! But it's not just for kids! Today I'll show you two ways to use the collection!

Here, I made a clean and simple birthday card for little boys today.


Materials Used: Kaisercraft Little Toot Paper Pad (PP846) and Clear Stamps (CS780); Stickles; Memento in Tuxedo Black; Pentel white pen

I stamped the airplane image on two different pieces of pattern paper and cut the entire airplane out of one and cutting only the wings and tails from the second stamped image and glued them onto the first stamped and cut airplane image. Then I added some sparkle to the polka dots decorating the plane wings with glitter glue. Next, I cut (free-hand) a little cloud out of another piece of pattern paper and glued it to cardstock, then I layered the airplane above the cloud using 3-D foam adhesive. Next, I used an white opaque pen to doodle the skywriting "happy birthday". Lastly, I matted the card with another piece of pattern paper before matting it finally on the white cardstock base. It's as simple as that!
_______________________________

Next, I want to share the Train Frame decorated with the fun Little Toot collection. Like I said, although the Little Toot collection is perfect for kids, it's not just for little boys!

My parents went on an amazing trip to Peru, a trip they love so much that they can't stop talking about all the memorable moments, such as conquering the Machu Picchu hike and taking the Peru Rail, so I thought, why not make them a literal "conversation piece"!


Materials Used: Kaisercraft Train Frame (SB2113); Kaisercraft Little Toot Paper Pad (PP846), Clear Stamps (CS780); Kaisercraft Acrylic Paint in Deep Yellow (KC006); Layered Printed Chipboard (CB130); Mod Podge

What's great about Beyond The Page items is that they're alterable so you can personalize them in any way you wish. Here, there was no need for the second train cart, so I didn't use it! Instead, I let their gorgeous photos coupled with the Little Toot pattern papers speak for themselves.

I painted the pieces in yellow, adhered Putt and Bang pattern papers with Mod Podge, trimmed 5"x7" photos down to best highlight the perspective of the train in the photo and the peaks of Machu Picchu, and adhered the photos. I embellished the tip of the background peak with a Layered Printed Chipboard cloud and added some sparkle with glitter glue.

And just like that, my parents have a cute photo frame keepsake to remind them of their wonderful adventures in Peru! Hope you’re inspired to create your own Train Frame!

Check out what the rest of the Kaisercraft design team is up to on the blog!

Thanks for stopping by!
- KRAFTY pearl

Sunday, July 10, 2011

A Blae & Ivy Day in Albany

As promised from my last post, I've been working on several Kaisercraft projects using new July releases, Little Toot collection and Blae & Ivy collection.

Today, I share with you a layout using the Blae & Ivy collection, my very first layout as a Kaisercraft design team member! How very exciting!

I love the gorgeous soft blues and neutral greens. Great for shabby-chic and romantic layouts but also great when combined with a bright punch of red borrowed from the Little Toot journal tags for a more contemporary feel.


I really love the pattern and color of Field, so I kept the layout clean and light to let the gorgeous pattern show through. Perfect to highlight a beautiful, care-free day in the capital city of New York, Albany! I embellished with snips of Little Toot Mini Journal Tags, edge-curled Blae & Ivy cardstock stickers, acrylic painted Chipboard Letters, and Mini Alpha stickers.

Materials Used: Kaisercraft Blae & Ivy Field (P696), Sky (P698), Sticker Sheet (SS106); Little Toot Mini Journal Tags (JT622); Acrylic Paint in Red (KC009); Chipboard Letters (CB107); Mini Alphas in Cherry Red (MA508); Others: Martha Stewart twine, Zig Memory marker

So whaddaya think? I hope you likes! And I hope you'll stop by the Kaisercraft blog and check out what the rest of the design team created!

Thanks for stopping by!
- KRAFTY pearl

Tuesday, June 28, 2011

The Beginning of a New Journey

It's been a bit quiet here on my blog for a couple of reasons: 1.) Summer weather is finally here in NYC, so I'm taking advantage of it, going on road trips and just being outdoors. 2.) I've been working hard, busily planning out my Kaisercraft projects!

My term as an official Kaisercraft design team member begins July but I received my very generous boxes of Kaisercraft goodies last week and I've been sorting and organizing it all like a mad woman. The variety of products is simply amazing!

Today, I thought I'd share the July releases, Little Toot and Blae & Ivy.

Little Toot is so adorable, perfect for little boys or traveling. Here are two of my favorite designs:


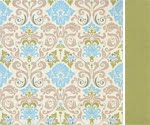
Blae & Ivy is just simply gorgeous with soft romantic blues and floral patterns. Here are two of my favorite designs:

Oh, and don't forget about the new Beyond the Page July release! All of the frames are gorgeous and I'm totally loving this super cute train frame!

I hope I've whet your appetite and you'll join me on this new journey as a Kaisercraft design team member in the months to come!

Thanks for stopping by!
- KRAFTY pearl

Sunday, June 19, 2011

A Simple Card For Dad

Happy Father's Day and happy Sunday!

Inspired by the bright blue skies of summer, here's a simple card I made for my dad.


Used: Bazzill Swiss dot cardstock; Echo Park Summer Days Clouds pattern paper; Kaisercraft Up, Up & Away stamp; Martha Stewart punch; EK Success 3D-Dots

Now give your dad a big hug and have a great day!

Thanks for stopping by!
-KRAFTY pearl

Monday, June 13, 2011

Tickled Pink Gelato!

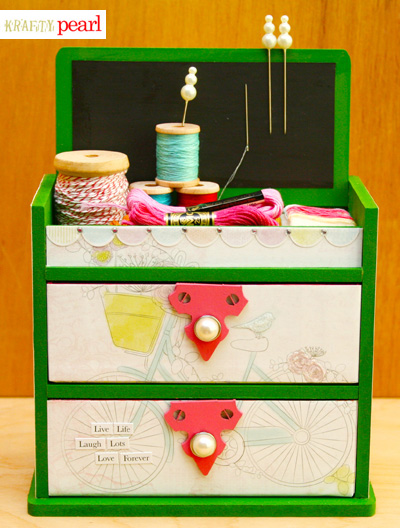
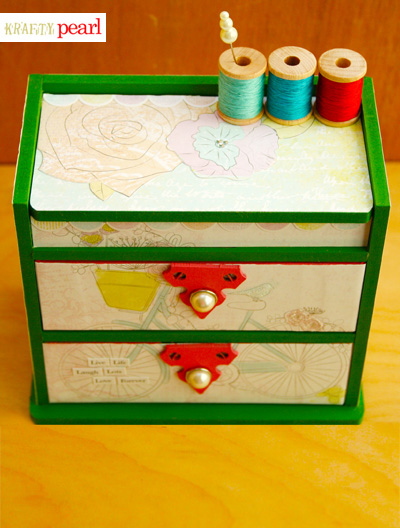
I am still tickled pink (gelato!) after last week's Kaisercraft announcement. So to start off this week, I'd like to share my Pink Gelato trinket box turned embroidery storage box. It is the other project for the final round of the Kaisercraft DT application.

When I saw the trinket box, I knew it would be perfect as my new embroidery storage box. The top compartment is used to store small tools, needles, and loose embroidery floss. The two drawers is used to store all of my embroidery floss and other loose threads, etc. The gorgeous bicycle design on the Vanilla pattern paper instantly reminded me of the New York Hampton’s where people would visit on holiday wearing cute Lilly Pulitzer shift dresses and bicycling around town.

pearllui-kaisercraft-trinketbox-frontstraightview-400blog

Used: Kaisercraft pattern papers; KaiserColour acrylic paint in green; Kaisercraft Locks & Hinges wood embellishments; Kaisercraft pearl brads; Me & My Big Ideas rhinestones; Mod Podge; Elmer’s wood glue; Glue dots; Magnet sheet; Bic Mark-it markers; Stickles

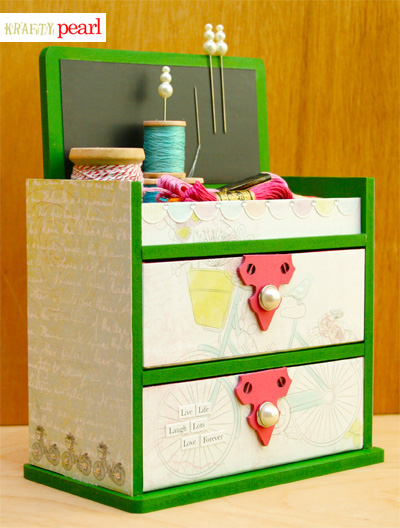
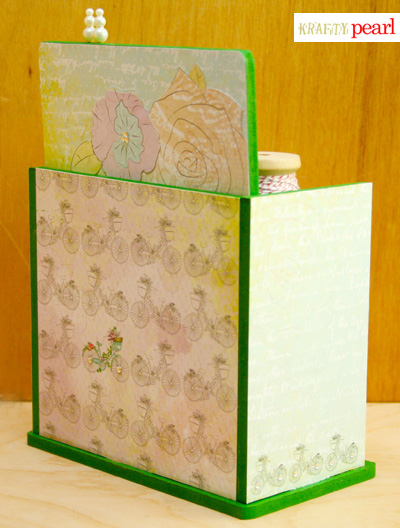
Here are some additional views:

pearllui-kaisercraft-trinketbox-frontsideview-400blog pearllui-kaisercraft-trinketbox-backsideview-400blog pearllui-kaisercraft-trinketbox-topview-400blog

  • One of my favorite tips for any MDF project: First, I put together the box (without any permanent adhesive) so I could see what the finished box looked like before decorating it. This allowed me to visualize the design on the finished piece. (For example, I wanted to fit the whole bicycle from the Vanilla pattern paper, so I was able to see that the whole bicycle scene could fit on the entire front surface of the box.) Then I just simply marked all the surfaces with a pencil indicating where I wanted to paint and where I wanted to affix Pink Gelato paper. The markings didn't show on the final project since they were covered with paint or paper.

  • To keep a clean MDF piece, I also recommend completing the painting first, before adhering paper. Since paint can drip, you want to let it all dry first.

  • One of my favorite parts of the box is the magnet sheet adhered to the underside of the cover. It's extremely useful in keeping needles and metal tidbits in place.
Thanks for stopping!
- KRAFTY pearl

Friday, June 10, 2011

One Lucky Ducky!

Let me start this post off with a HOORAY!!! "Why", you ask? Well, I applied for this back in April.

And then I actually made it through to this in May.

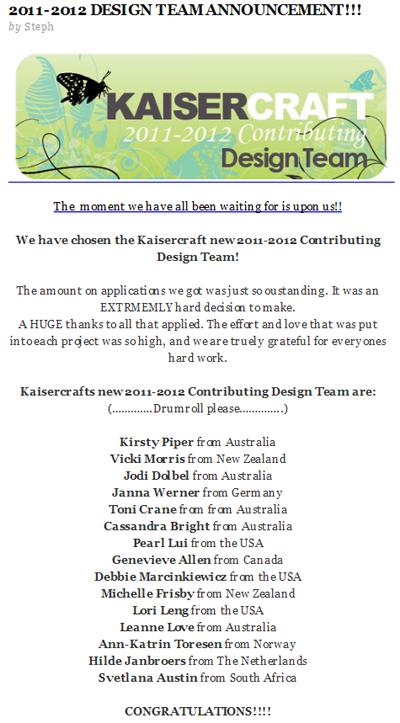
And now... I am excited to share that I have made the 2011-2012 Kaisercraft design team! Being amongst the super talented 24 other finalists, my chances of getting a spot were slim. But it happened... Am I one lucky ducky or what!?

kaisercraftdesignteampost

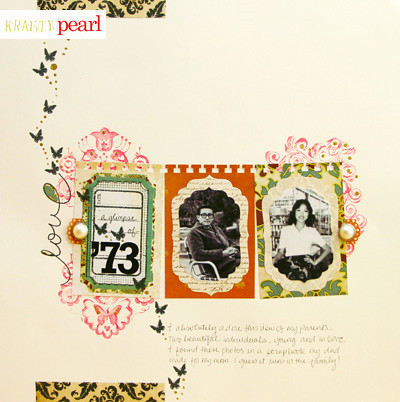
Here is one of the finalist projects I submitted: Inspired by the lovely Velvet Ensemble collection and it's vintage feel, I was instantly reminded of precious black & white photos I have of my parents. It was perfect to showcase two of my favorite photos of my mom and dad before they became parents.

pearllui-73-kc-velvetensemble-400blog

Used: Kaisercraft pattern papers; KaiserColour acrylic paint in candy pink and gold; Kaisercraft Bubblegum Hills stamps; Kaisercraft Up, Up & Away stamp; Kaisercraft pearl brads; Paper Smooches “love” stamp; Jillibean number stickers; Nestabilities die set; EK Success border punch; Martha Stewart border punch; Glue dots; Memento black ink; Tombow permanent adhesive

A very HUGE thank you to the Kaisercraft team for the wonderful opportunity and I can hardly wait to begin my term! Congratulations to the new 2011-2012 Kaisercraft DT! I look forward to getting to know you and be inspired by you!

One last parting thought... something important I have learned from this is: if you want something, even if against all odds, just go for it!

I'll share my other finalist project in another post since I have long tips & techniques that go with it.

Thanks for stopping by and I hope you'll follow me through this incredible journey with Kaisercraft!

- KRAFTY pearl

Wednesday, June 8, 2011

CAS-ual Fridays Challenge #5: Card Sketch

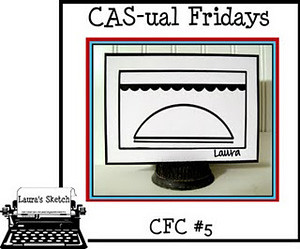
It's another CAS-ual Friday Wednesday today! This week's challenge is to use the below sketch and make a card.

cas-ualfridays-cfc5

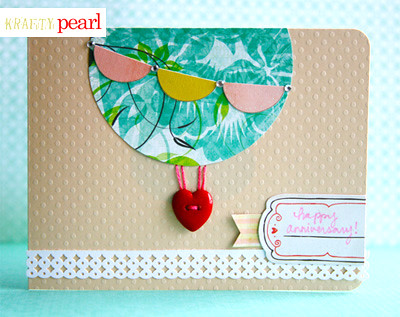
I've participated in a couple of CFC's but I usually interpret the challenge in form of a layout. So I'm excited to share a card with you this time! The sketch was very close to a design I had in mind so it worked out! I made this card to accompany my "Will You Fly Me Away" mini album as a total package gift for my very special someone. I'll stop the sappiness here and just share the card. :)

pearllui-happyanniversary2011cardnd-full-400blog

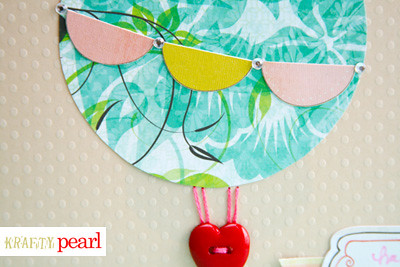
Here's a closer look at one of my favorite parts of this card is the beautiful Kaisercraft Chapter One pattern paper used to make the hot air baloon and the Crate Paper Neighborhood pattern paper used to embellish it.

pearllui-happyanniversary2011card-detail-400blog

Used: Kaisercraft pattern paper; Crate Paper pattern paper and cardstock sticker label; EK Success border punch; Me & My Big Ideas; DMC embroidery floss; Michael's heart button

Hope you likes! :)

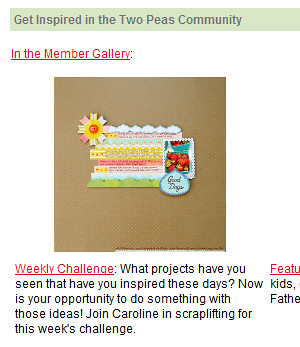
Now last but certainly not the least, a great big surprise to see my layout featured in yesterday's Two Peas In A Bucket weekly newsletter! A very big thank you to Two Peas! Woohoo!

junetwopeasinabucketnewsletter

Thanks for stopping by!
- KRAFTY pearl

Tuesday, June 7, 2011

Happy Birthday, Kryssi!

Today is Kryssi's birthday. Kryssi is one of my dearest friends and I love her mucho. She is also one of the most talented and crafty people I know. So if you don't already know her, she is the amazing designer behind the Sugarbuffet blog. Stop by, wish her a very happy birthday, and be prepared to soak up lots of inspiration.

i <3 you! :)
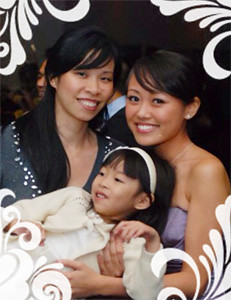
Above: Kryssi, Audrey (Kryssi's little girl, my god-daughter) & me

Sunday, June 5, 2011

Good Days & Handmade Flowers

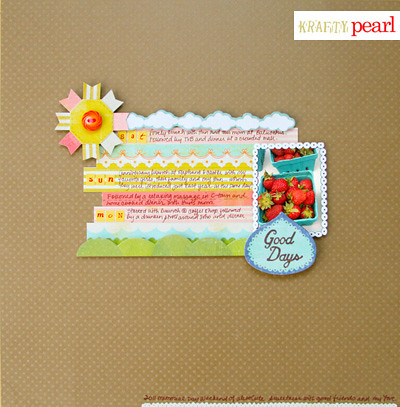
It's Sunday... and I'm wishing it's another long weekend like the last. Today, I'm sharing a layout about how I spent my long weekend... I had some really fun and good days! I didn't take any photos other than this photo of fresh, vibrant strawberries at the Union Square Farmer's Market to represent my sweet weekend with great company.

pearllui-gooddays-full-400blog

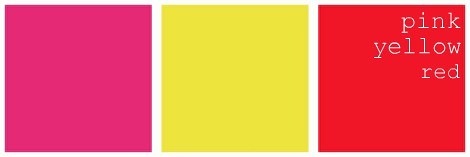
I was inspired by Crate Paper's June color challenge to use pink, yellow, and red. I love the combo because it's so fun and a summery combo. Crate Paper's Neighborhood collection was perfect for the challenge.

cratepapercolorchallenge

I was also inspired to scraplift by these two challenges:

I decided to scraplift this layout in the CK gallery and featured on the CK blog as May 16 scrapbooking inspiration. Inspired by the stacked pattern strips, I recreated the look with beautiful patterns from Crate Paper. The strips are perfect to record last weekend's events.

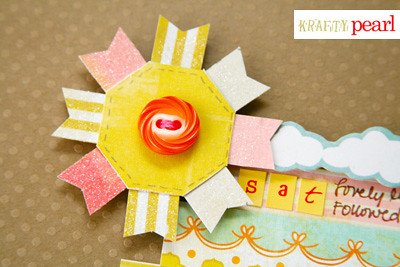
Here's a closer look at one of my favorite parts of the layout, the sun embellishment:
  • I cut hexagon shape from Crate Paper pattern paper
  • I then cut additional paper strips in shape of ribbons and adhere to hexagon shape
  • I brushed on Mod Podge on the strips and sprinkled glitter on it
  • Lastly, I added a button to the middle of the sun

pearllui-gooddays-details-400blog


Used:
Crate Paper pattern papers and cardstock stickers; Bazzill Swiss dots card stock; My Little Shoebox alphabet stickers; EK Success border punch; Martha Stewart glitter; 3-D Glue Dots; Bic Mark-it markers

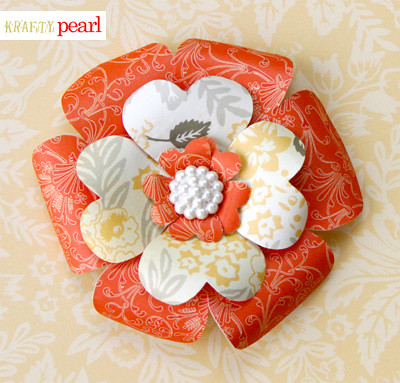
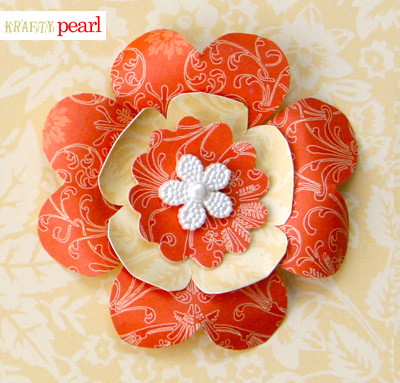
Next, I wanted to share a couple of flowers I created using pretty Cosmo Cricket pattern papers for the CK Flower Fabrication Fiesta. I love that the flowers are so simply made just by using heart shaped punches.

pearllui-paperflower1-400blog

pearllui-paperflower2-400blog

Used: Cosmo Cricket pattern papers; EK Success Paper Shapers heart punch; Martha Stewart punch; scallop scissors; buttons from Michael's

So whaddaya think? I hope you like the layout and flowers!

Thanks for stopping by!
- KRAFTY pearl

Wednesday, June 1, 2011

Mod Podge Rocks!

Wow, I can't believe it's June already!

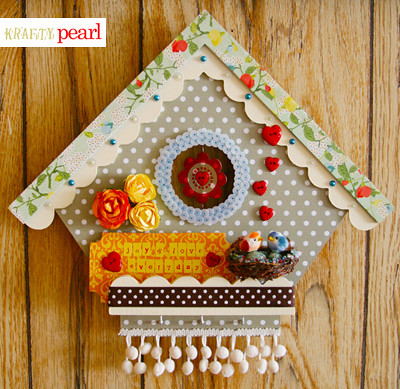
So, who doesn't love Mod Podge? I use it in all kinds of projects. It's an excellent adhesive and sealant. Amy of the Mod Podge Rocks blog is also a fan of it too. She found my "Happy Birdies" project on my Flickr photostream and featured it yesterday on the Mod Podge Rocks blog. A big thank you to Amy for the feature!

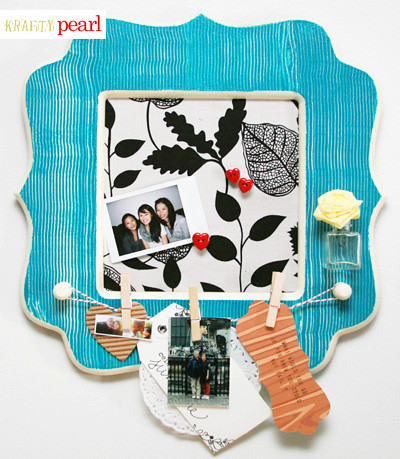
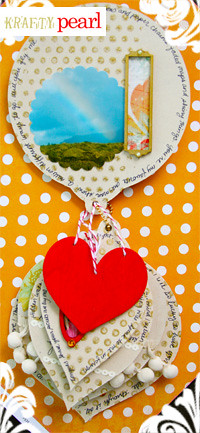
Why do I love Mod Podge? Well, I wouldn't be able to complete any of these projects without it:
Thanks for stopping by and hope you enjoyed this walk down memory lane of some of my favorite Mod Podge-filled projects!

- KRAFTY pearl