
- My Little Shoebox's Woodsy paper
- Art Warehouse's Wood Embossed Great Outdoors paper
- Karen Foster's Wood Pattern paper
- Creative Imaginations Real Wood Veneer paper
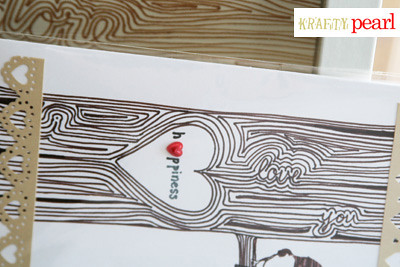
Notice anything within the wood grain? Here's a closer look. Do you see it now? Embedded within the pattern, I wrote 'i love you' in script!
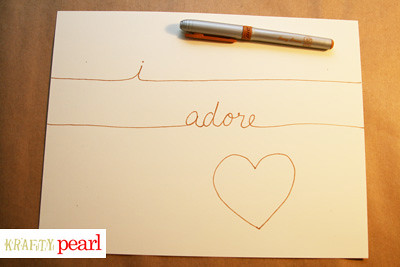
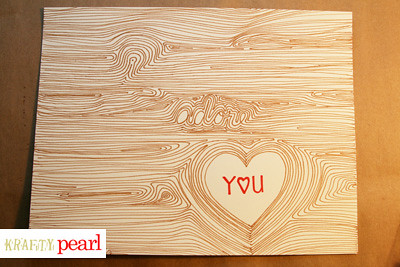
I loved the result so much, I decided to doodle another piece... 'i adore you' with 'you' centered in the heart:

I also decided to put it in a shadow box as the main focal point but I could do so much more to it. (I bought a nice and simple Ribba shadow box from Ikea. Absolutely love these shadow boxes.) I could put a picture to the left of the heart. I could decorate it with more embellishments. The possibilities are endless.
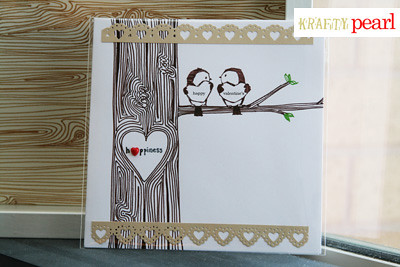
What's great about drawing out your own wood grain pattern is that you can actually write camouflaged words or designs within the wood grain, really making the piece of art your own!
Here's a quick how-to:
I found the EK Success Zig Memory System Writer Dual Tip Pen Writer the most useful in drawing out my lines because of the sharp consistent point, though I also love doodling with Bic's Mark-It Permanent Markers Fine Point. But feel free to use whatever fine point pen you're most comfortable with controlling your lines.
First, start with your designs or words.
Second, draw concentric lines around your designs and words leaving a fair amount of space between your lines. The lines doesn't have to be perfect because that's the beauty of wood grain patterns, they're not perfectly spaced.
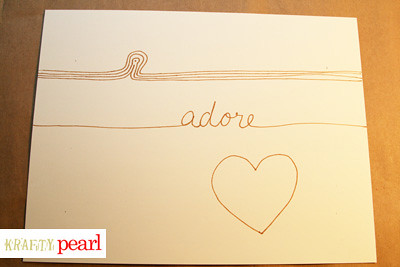
Third, continue to draw lines around your words or designs and let the imperfections guide you for a perfect faux bois doodle.
And there you have it, a pretty piece of art personalized with your own message and design!

So whaddaya think? Is it a cute personalized keepsake or what?
Until my next post!
- KRAFTY pearl
**love it**
ReplyDeletethat first one with the tree trunk shd be a stamp!! i lubba it!
ReplyDeleteI can't wait to try on my own! Great tutorial, you're my kraft hero! - valaya
ReplyDeleteThis sure is one awesome technique - thank you so much for sharing it!!! wowza!
ReplyDelete